

The oven’s already preheated, and the cream cheese is softening on the counter. Someone’s just popped a taco shell filled with that luscious cheesecake mixture into their mouth, eyes lighting up in delight. Cheesecake tacos are about to steal the show.
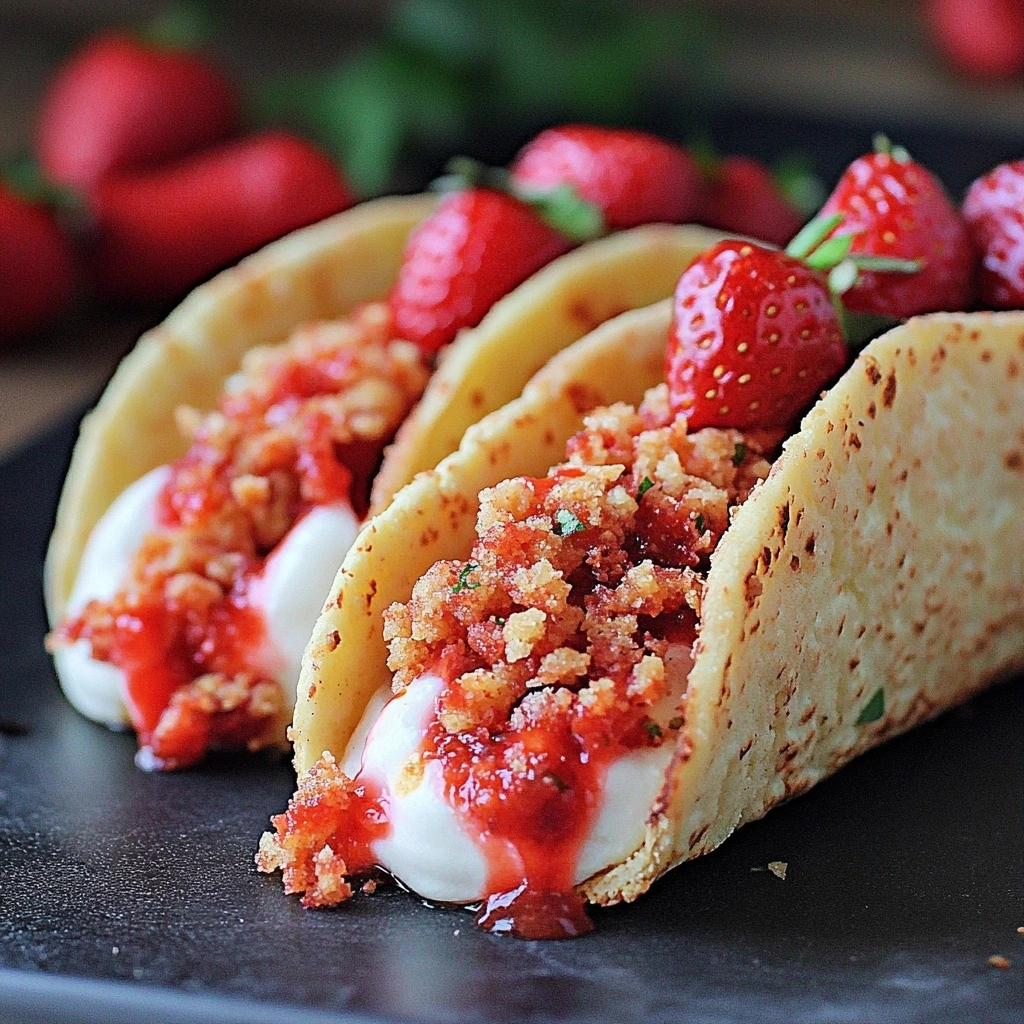
These indulgent treats are perfect for dessert lovers who crave something unique at parties or casual get-togethers. With a crunchy shell and creamy filling, they’re way faster to whip up than traditional cheesecake (no baking required). So grab your ingredients and get ready to impress your friends. Taco time just got sweeter!
Why You’ll Love This cheesecake tacos
- Super Easy: Just whip, fill, and serve—no baking required! Perfect for quick dessert cravings.
- Flavor Explosion: Creamy cheesecake meets sweet toppings in every bite, delivering a party for your taste buds.
- Crisp-Tender Shells: Enjoy the satisfying crunch of the shells combined with the smooth cheesecake filling—it’s a match made in heaven!
- Versatile Treat: Swap out fillings or toppings to match any occasion or personal preference—endless combinations await!
- A Fun Surprise: It’s a unique twist on traditional desserts that will impress guests, but be ready for some messy bites!
cheesecake tacos Ingredients
Cheesecake Filling:
- 8 oz cream cheese (softened) — ensures a creamy texture; let it sit at room temperature for best results.
- 1/2 cup granulated sugar — balances the tanginess of cream cheese; adjust to taste for sweetness preference.
- 1 tsp vanilla extract — adds a warm, rich flavor; use pure vanilla for the best taste.
- 1 cup whipped cream (for folding in) — provides lightness and fluffiness; homemade is recommended for freshness.
- 1 tbsp lemon juice (freshly squeezed) — brightens up the filling; bottled lemon juice can be used in a pinch.
Taco Shells:
- 4 small flour tortillas (or corn tortillas) — choose corn for a gluten-free option; warm them before filling for flexibility.
- 1 cup vegetable oil (for frying) — necessary for crispy taco shells; maintain oil temperature to avoid sogginess.
Toppings:
- 1 cup fresh strawberries (sliced) — adds freshness and color; use other berries if desired or out of season.
- 1/2 cup chocolate sauce (for drizzling) — enhances sweetness and decadence; try caramel sauce for a different twist.
- 1/4 cup powdered sugar (for dusting) — gives a beautiful presentation; sift before using to avoid clumps.
*Full measurements in the recipe card below.*
How to Make cheesecake tacos
1. Prepare the filling: In a bowl, beat 8 oz softened cream cheese until smooth. Add 1/2 cup granulated sugar and 1 tsp vanilla extract, mixing until creamy and well combined.
2. Fold in whipped cream: Gently fold in 1 cup of whipped cream and 1 tbsp fresh lemon juice into the cream cheese mixture. You’ll know it’s ready when it’s light and fluffy.
3. Heat the oil: In a skillet, heat 1 cup vegetable oil over medium heat until hot. You can test if it’s ready by dropping in a small piece of tortilla—if it sizzles immediately, you’re good to go.
4. Fry the tortillas: Carefully place each tortilla in the hot oil one at a time for about 30 seconds per side, until they puff up and turn golden brown. Don’t walk away here—it goes from golden to burnt in about 30 seconds.
5. Drain and cool: Once fried, transfer the taco shells onto a paper towel-lined plate to drain excess oil. Let them cool for a few minutes before filling.
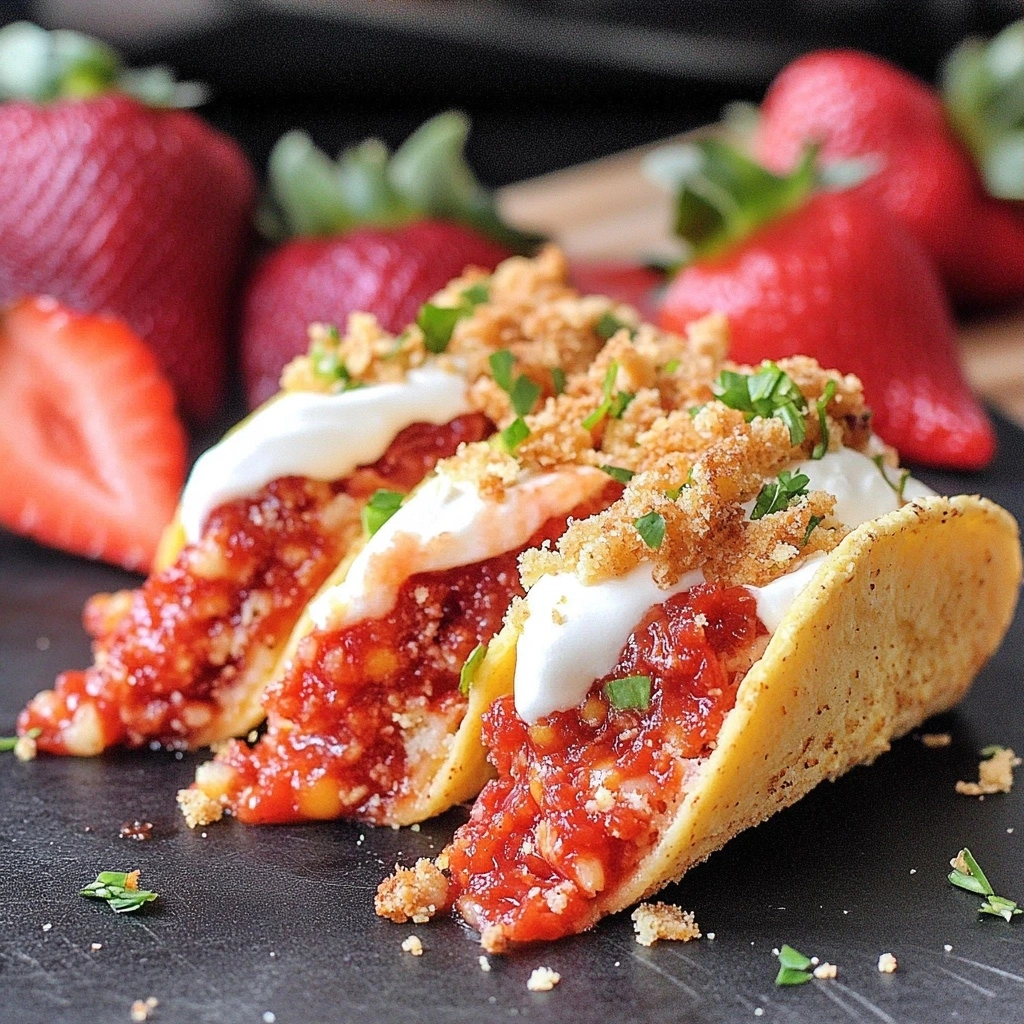
6. Assemble cheesecake tacos: Now, spoon the cheesecake filling into each taco shell generously, making sure they’re nicely packed without spilling out.
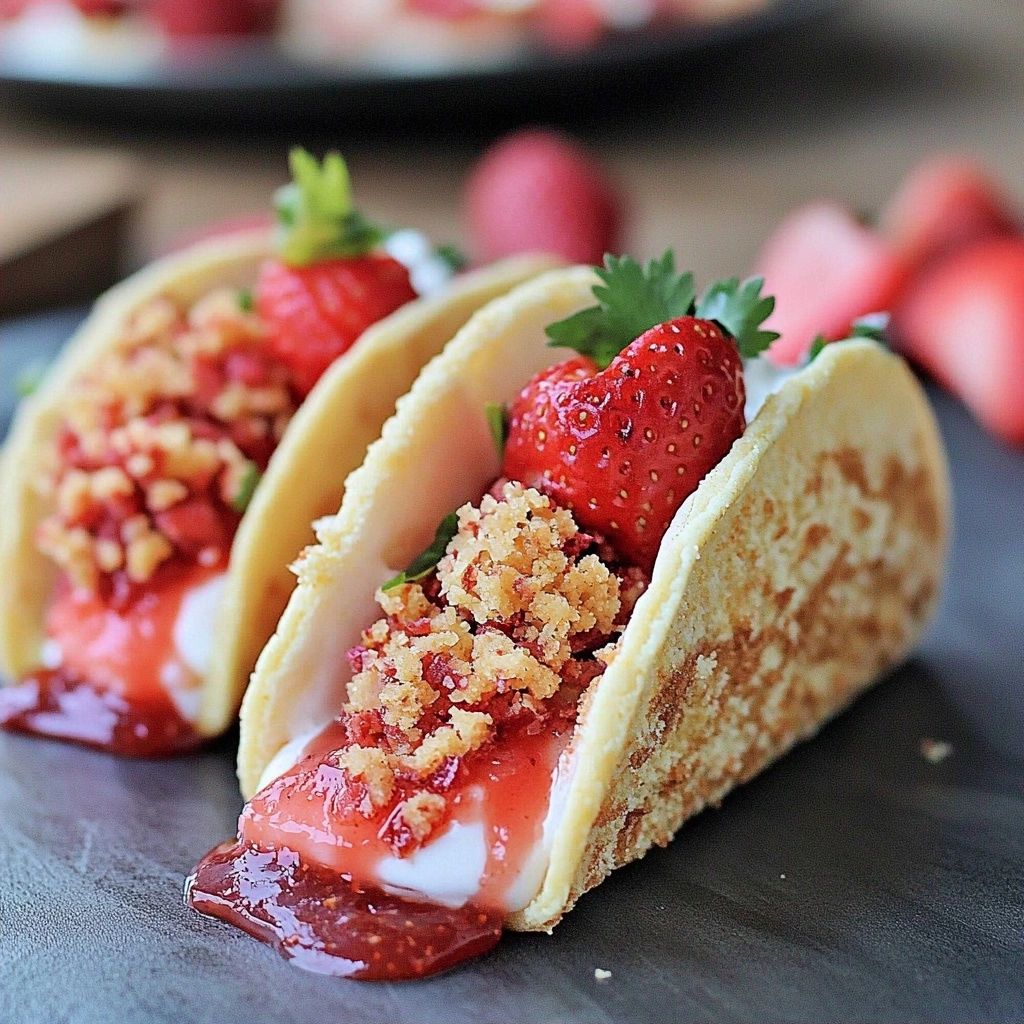
7. Add toppings: Finally, top your cheesecake tacos with sliced strawberries, drizzle with chocolate sauce, and dust with powdered sugar for an irresistible finish.
*Exact quantities in the recipe card below.*
How to Store cheesecake tacos
- Room Temperature: If you’re enjoying them right away, serve cheesecake tacos on a plate, but don’t leave them out for more than 2 hours to keep the flavors fresh.
- Refrigerator: Store leftover cheesecake tacos in an airtight container for up to 3 days. Just know that the crispy taco shell might lose some crunch.
- Freezer: You can freeze cheesecake tacos for up to a month. Wrap each taco tightly in plastic wrap and then place them in a freezer-safe bag.
- Reheating: Reheat in the oven at 350°F for about 10 minutes until warm and slightly crispy again; you’ll know they’re ready when the shell feels firm to the touch.
What to Serve with cheesecake tacos?
It’s sweet and creamy, so pairing it with something contrasting in flavor or texture keeps each bite exciting.
- Fresh Berries: Try strawberries or raspberries for a juicy burst that adds freshness and color contrast.
- Citrus Sorbet: Serve a scoop of lemon sorbet for a refreshing acidity that balances the richness perfectly.
- Spiced Nuts: Add crunchy, spiced nuts for a satisfying texture difference that enhances each mouthful.
- Mint Leaves: Garnish with fresh mint to introduce a cooling herbaceous note that brightens the flavors.
- Chocolate Drizzle: A quick drizzle of melted dark chocolate adds depth without overwhelming the sweetness; just 5 minutes prep.
- Caramel Sauce: Warm caramel sauce creates a lovely temperature contrast while adding an extra layer of flavor; heat for 10 seconds in the microwave.
- Whipped Cream: A dollop of lightly sweetened whipped cream provides airy lightness against the dense filling.
- Lemon Zest: Sprinkle some lemon zest over it for an aromatic lift; the bright notes really elevate the dessert experience.
cheesecake tacos Variations
Here’s how to play with this recipe by mixing up flavors and textures.
- Lemon Zest Twist: Add 1 tsp lemon zest to the cheesecake filling for an extra citrus kick.
- Chocolate Drizzle Delight: Drizzle 1/2 cup chocolate sauce over the filled tacos just before serving for a rich finish.
- Berry Medley: Top with a mix of 1 cup sliced strawberries and other berries for a colorful, fruity topping.
- Powdered Sugar Upgrade: Dust with 1/4 cup powdered sugar right before serving for a sweet touch.
- Corn Tortilla Swap: Use corn tortillas instead of flour for a gluten-free option that adds authenticity.
- Creamy Vanilla Bean: Fold in 1 tsp vanilla bean paste into the cheesecake filling for a gourmet flavor boost.
- Chilled Treats: Serve chilled tacos straight from the fridge for a refreshing dessert on hot days.
Make Ahead Options for cheesecake tacos
I love prepping cheesecake tacos ahead of time for easy entertaining. You can make the cheesecake filling up to two days in advance; just store it in an airtight container in the fridge. The taco shells should be fried right before serving to keep them crispy, but you can prepare your toppings, like sliced strawberries and chocolate sauce, a day ahead. I recommend storing the strawberries in a sealed container to maintain their freshness. Keep in mind that while the filling holds well, the tortillas will lose their crunch if made too early. Finish assembling just before serving for that delightful contrast of textures. Enjoy your delicious dessert!
cheesecake tacos Recipe FAQs
Can I make cheesecake tacos ahead of time?
You can prepare the cheesecake filling ahead of time and store it in the fridge for up to 2 days. However, it’s best to fry the taco shells fresh just before serving to keep them crispy. Assemble the tacos right before enjoying them for the best texture. If you need to prepare toppings, slice your strawberries a few hours in advance but keep them in an airtight container.
Why did my taco shells turn out soggy?
Soggy taco shells usually mean they weren’t fried long enough or at a high enough temperature. Ensure your oil is heated to around 350°F (175°C) before frying, and fry each tortilla until they’re golden brown and crispy—about 1-2 minutes per side. Draining on paper towels is also key to removing excess oil. Don’t rush this step for that perfect crunch!
What can I substitute for whipped cream in this recipe?
If you don’t have whipped cream on hand, you can use whipped topping or even homemade whipped coconut cream as a dairy-free option. Just ensure it’s light and fluffy when folded into the cheesecake mixture; otherwise, your filling might end up denser than desired. Always taste test after mixing for sweetness and adjust if needed!
How should I store leftover cheesecake tacos?
If you’ve got leftover cheesecake tacos, store the filling and shells separately in airtight containers in the fridge. The shells will lose their crispiness if stored with the filling. Consume within 1-2 days for optimal freshness, but keep in mind that reheating fried tortillas might not restore their original texture. So, it’s best to enjoy them fresh!
Final Thoughts on cheesecake tacos
Cheesecake tacos are a fun twist on traditional desserts, making them a fantastic choice for impressing friends or enjoying a sweet treat at home. The real highlight here is how quickly you can whip up this delightful dessert with minimal effort, thanks to the simple filling and quick-frying technique. If you haven’t tried making these yet, tonight’s the night to dive in and create your own version. Let me know how yours turned out in the comments!
cheesecake tacos
Ingredients
Method
- In a mixing bowl, beat the softened cream cheese with an electric mixer until smooth.
- Add granulated sugar, vanilla extract, and lemon juice. Mix until well combined.
- Gently fold in the whipped cream until the mixture is light and fluffy.
- Heat vegetable oil in a frying pan over medium heat.
- Using a taco shell mold, fry each tortilla in the hot oil until golden and crispy, about 1-2 minutes per side.
- Remove the taco shells and drain on paper towels to remove excess oil.
- Fill each taco shell with the cheesecake filling.
- Top with sliced strawberries, drizzle with chocolate sauce, and dust with powdered sugar.
- Serve immediately and enjoy!
